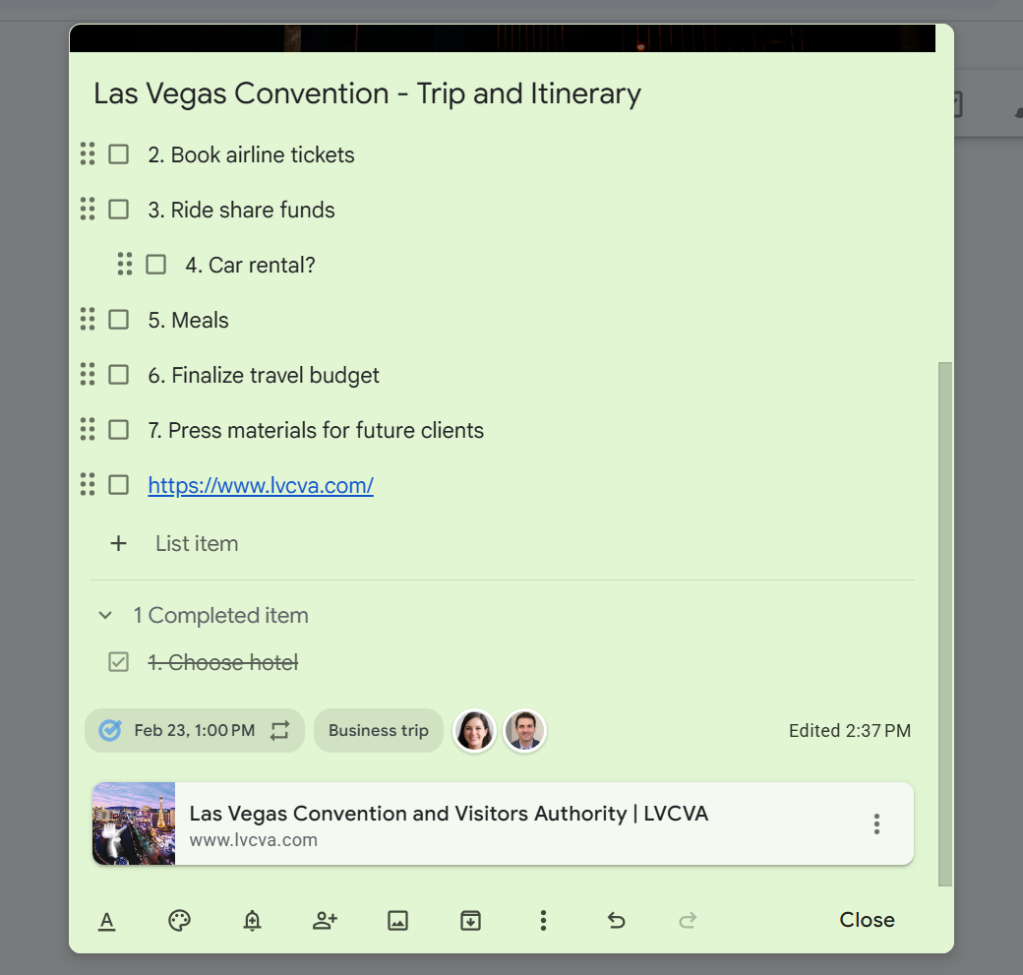
Checking off completed items moves them to the bottom of the note.
Howard Wen / Foundry
You can delete a checkbox item (rather than marking it complete) by hovering the mouse pointer over it and clicking the X that appears over its right end.
To uncheck or delete all items you’ve checked, or to hide the checkboxes: Click the three-dot icon in the toolbar at the bottom of the note and select Uncheck all items, Delete checked items, or Hide checkboxes.
Extract text from images
If an image attached to your note depicts text, Keep can try to extract it. Click the three-dot icon, then select Grab image text to insert that text into your note.
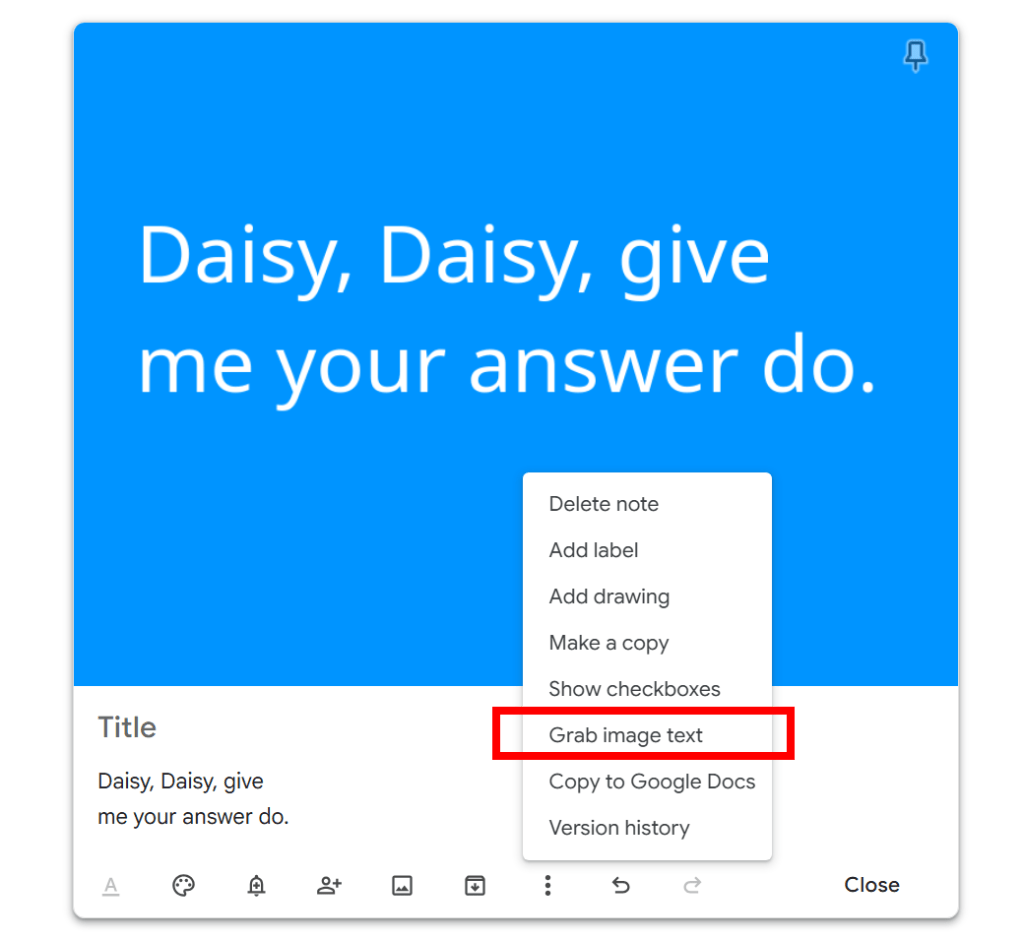
Keep can detect text in images and insert it into a note.
Howard Wen / Foundry
Send your note to Google Docs
When a note starts to turn into a missive, you can send it to Google Docs for more advanced editing options. Click the three-dot icon and select Copy to Google Docs. A copy of the note will be sent to your Google Drive, where you can further work on it in Docs as a normal document.
Finish your note
When you’re done tweaking your note, click Close. This shrinks down the note and sends it to the main board of your Keep home page. You can reopen a note by clicking it, make further changes to it, and click Close again.
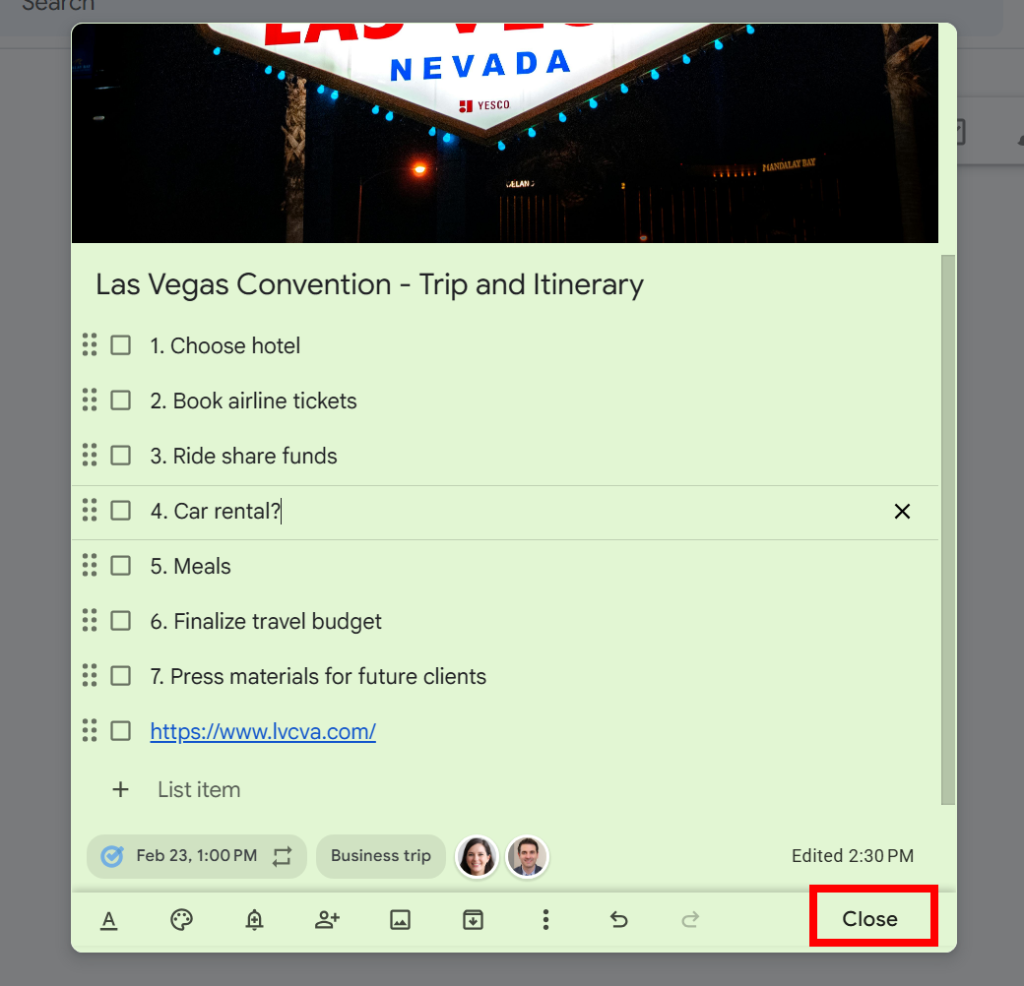
Click Close to save your note and send it to the main board.
Howard Wen / Foundry
Manage your notes
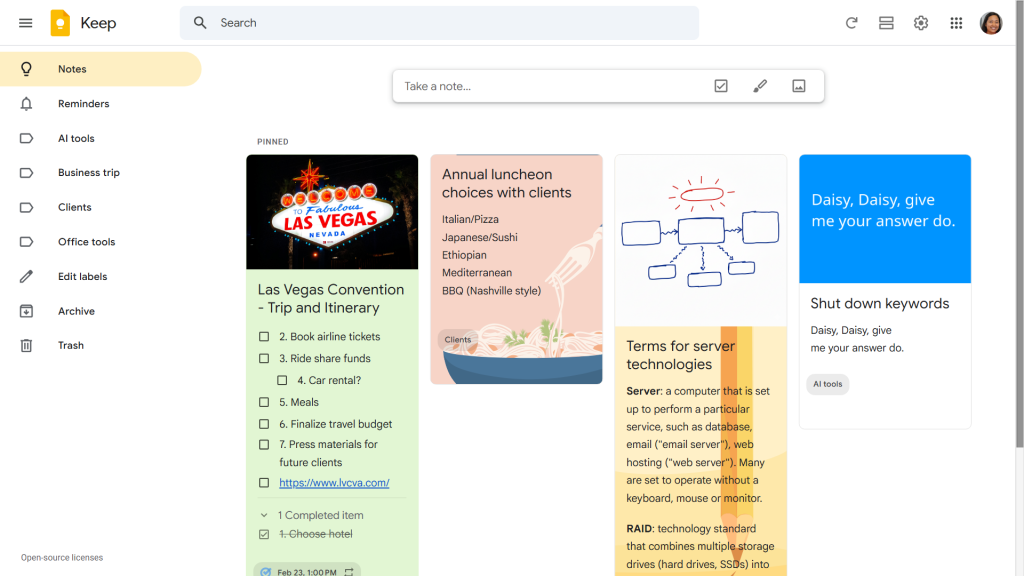
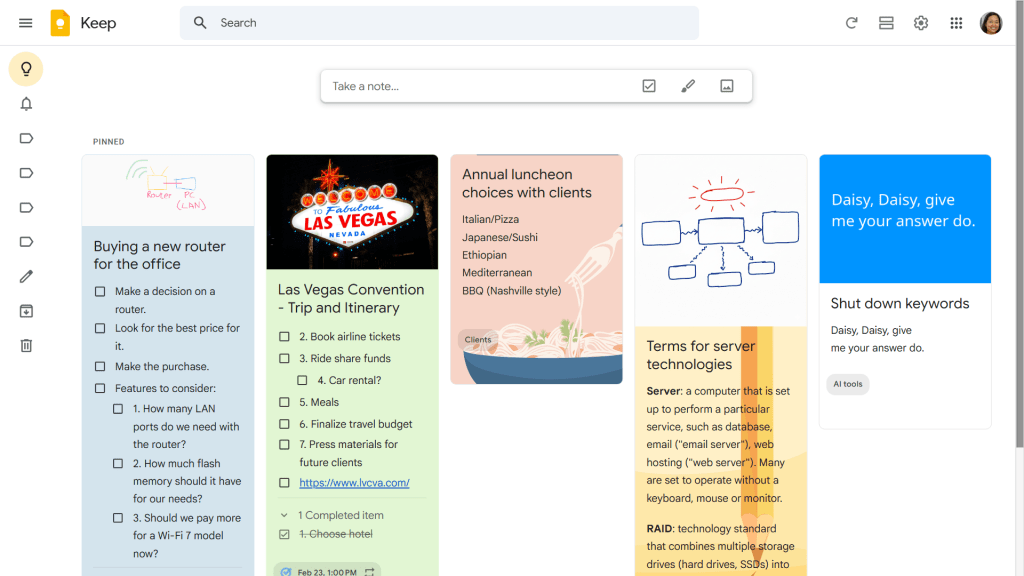
The main board of your Keep home page is where your notes appear. Imagine it as a big cork board that your notes are pinned to as cards.
Once you’ve created several notes, it can be difficult to find the one you want. But never fear: Keep has a number of ways to make them easier to find.
Arrange your notes
Notes that you’ve pinned (by clicking the pushpin icon to the right of a note’s title line) are set toward the top of the main board. More recently pinned notes appear first. Unpinned notes are pushed down toward the bottom.
Pinned notes appear at the top of your main board.
Howard Wen / Foundry
To rearrange your notes, just drag and drop one note to another spot on the main board. The other notes will rearrange themselves to accommodate the note in its new spot.
If you want to see a certain note at the top of your main board, pin it and then, after newer pinned notes displace it, drag and drop it at the top. Or open the note, unpin it, and immediately re-pin it. This will set the note as the first one at the upper left of the board.
Search for notes
Along the top of your Keep home page is a search box you can use to search for text in your notes. Notes that contain your search query will appear on the main board.
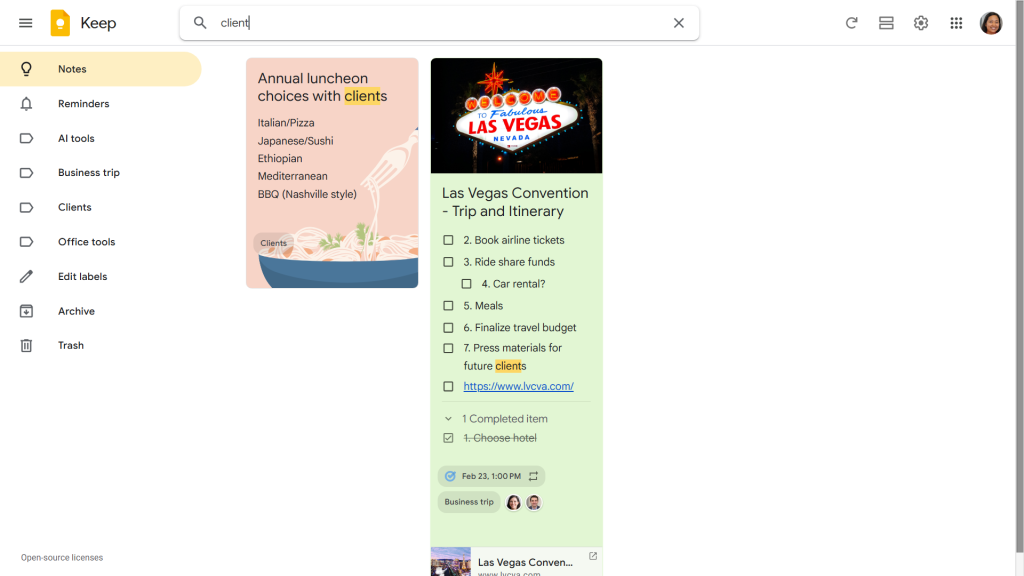
Find notes quickly by using the search box up top.
Howard Wen / Foundry
You can also narrow down the search to certain types of notes (for example, those that contain drawings or voice memos), notes that have certain labels, or notes that you’ve shared with certain contacts. Keep provides handy shortcuts below the search box that you can click to look for notes containing these and other criteria.
Keep has some search tricks up its sleeve, too: Remember how it transcribes voice memos to text? That text is searchable. What’s more, if text appears in an image in a note, Keep can search that text as well.
Choose List view or Grid view
To the right of the search box are three icons:
- Refresh (a circular arrow — click this to reload your Keep home page)
- List view/Grid view (two horizontal bars or four small squares)
- Settings (a gear)
By default, your Keep home page is set to Grid view, which arranges your notes in a grid layout.
Clicking the horizontal bars icon puts your main board into List view, which makes your notes wider and shows them in one long, single column. This can be better for scrolling through them on a phone screen, or if you’d rather see more information on individual notes at a glance.
When you’re in List view, the icon changes to four small squares. Click it to return to Grid view.
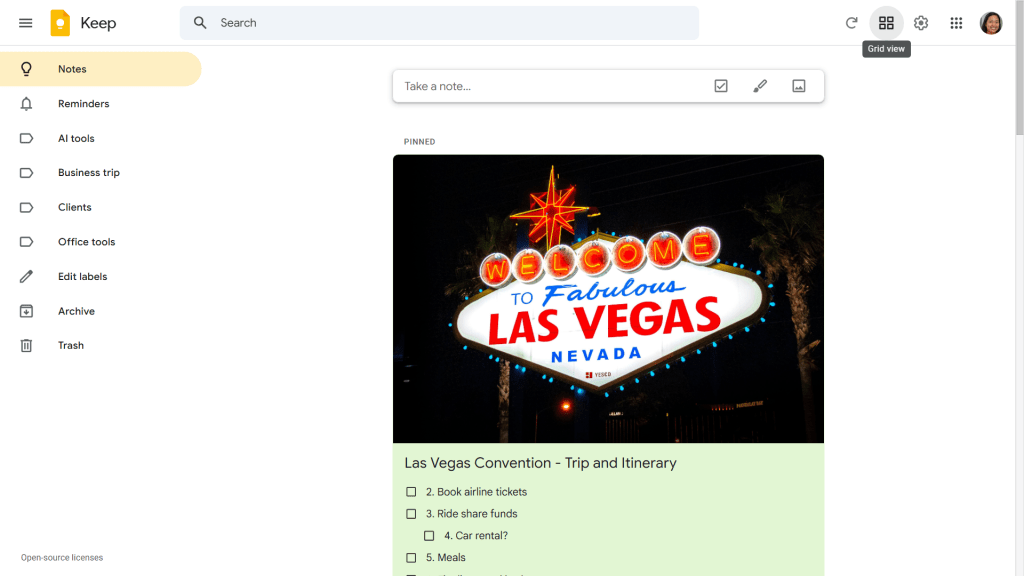
Click the List view icon to see more of each note at once. If you prefer the default compact view, click the Grid view icon.
Howard Wen / Foundry
Navigate the left sidebar
Keep’s left sidebar helps you filter which notes are shown on the main board.
- Click Reminders to see only notes that you set with reminder notifications.
- Click one of the labels to see only notes that you’ve tagged with that label.
The left sidebar lets you filter notes by label.
Howard Wen / Foundry
- Click Edit labels to create a new label, change the name of a label, or delete a label.
- Click Archive to see only notes that you’ve archived.
- Click Trash to see notes that you’ve recently deleted. From here you can restore a note to the main board. Otherwise, a deleted note stays in Trash for 7 days before it’s removed forever from your Keep account.
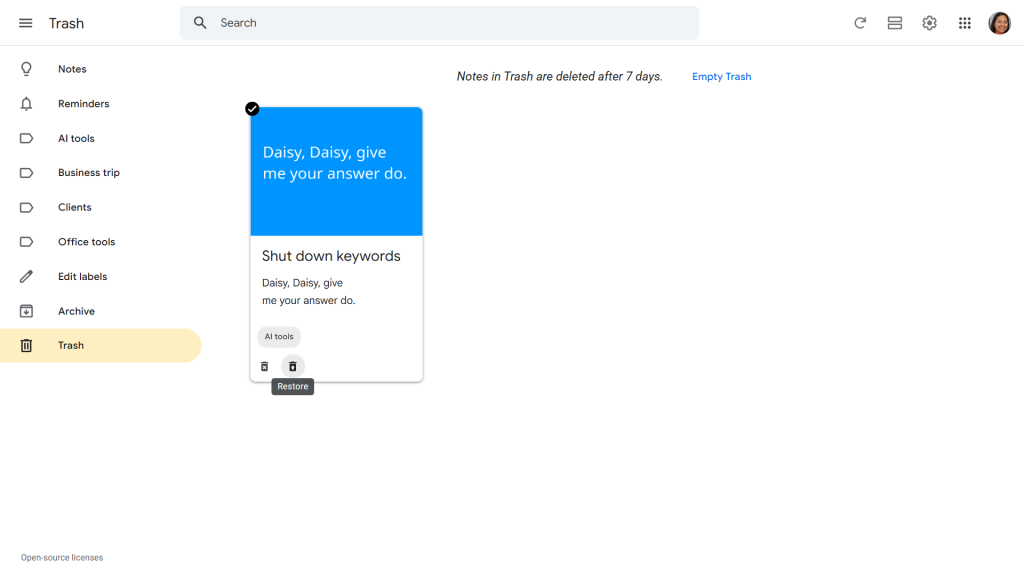
Select a note in Trash, then click the Restore icon on the toolbar along the bottom of the note to restore it to the main board.
Howard Wen / Foundry
- Click the triple-bar icon at the upper-left corner to narrow or widen the left sidebar. When narrowed, the sidebar shows only the icons of these note labels. This may enable another column of notes to be shown on the main board, but it depends on your screen resolution, the size of your browser window, and your browser’s zoom level. You can try zooming your browser view in or out by pressing Ctrl + – (minus key) or Ctrl + + (plus key) to see how that affects the notes shown in the main window.
Click the three-line icon at the upper left to narrow the left sidebar and allow for another column of notes to be shown on the main board.
Howard Wen / Foundry
Adjust settings
To the right of the List view/Grid view icon, click the gear icon and select Settings from the pop-up menu. A panel opens where you can disable note sharing, turn off thumbnail previews for links in your notes, and more.
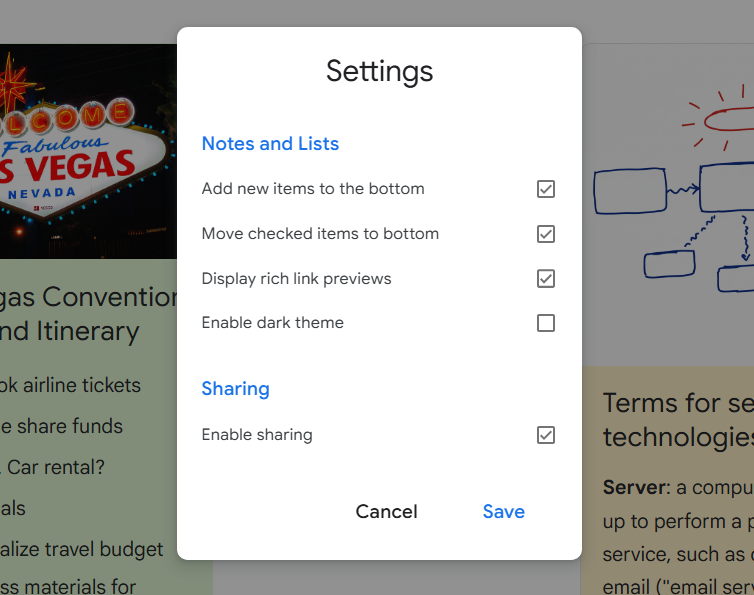
Settings lets you tweak some of Keep’s default behaviors.
Howard Wen / Foundry
Use keyboard shortcuts
You can save time in Google Keep by using keyboard shortcuts to trigger some actions. Below are some of the most useful shortcuts. To see more, click the gear icon at the upper right of the Keep home page and select Keyboard shortcuts, or just type ? when you’re on the Keep home page.
Handy Google Keep keyboard shortcuts
| Action | Windows shortcut | macOS shortcut |
| ON THE KEEP HOME PAGE | ||
| Start a new note | c | c |
| Start a new checklist note | l | l |
| Search notes | / | / |
| Move highlight to next note | j | j |
| Move highlight to previous note | k | k |
| Select highlighted note | x | x |
| Archive selected note(s) | e | e |
| Move selected note(s) to Trash | # | # |
| Pin or unpin selected note(s) | f | f |
| Toggle between List view and Grid view | Ctrl-g | ⌘-g |
| IN A NOTE | ||
| Copy | Ctrl-c | ⌘-c |
| Cut | Ctrl-x | ⌘-x |
| Paste | Ctrl-v | ⌘-v |
| Undo | Ctrl-z | ⌘-z |
| Redo | Ctrl-y | ⌘-y |
| Finish editing note | Esc | Esc |
This article was originally published in January 2019 and most recently updated in April 2026.